Showing posts with label Building our home. Show all posts

Wednesday, June 17, 2015

A flamingo-themed nursery

This post was due ages ago. I never shared Y's. nursery, but we put so much effort in it that I thought it was as good a time as any to show it to you!  


When we started putting our baby’s room together, we didn’t really have a colour scheme, except maybe: "mix all the colors". Little by little, though we found the bits and pieces that “glue” it all. We first chose the fabric for the curtains. These were actually a project for January Joy,  but we ended up asking our local Turkish tailor to make them because it turns out we are both completely clueless with the sewing machine .


We also had a pair of flamingo wall-stickers that we got in Barcelona just before I moved to The Netherlands. At the moment we did not know where they would end up, but we knew they would be a part of our home together. When we were dating (and still now, when we travel) we visit zoos whenever we can and we always end up taking a photo with the flamingos, so they are a bit special to us.


For the furniture, we knew we wanted colourful items, which are often difficult to find, or else, they are called "designer items" and are priced accordingly. At the baby shops everything was in the boring tones of white, grey, wood or black and the ready-made rooms were extremely expensive anyway. We chose a simple drawer chest (a Hemnes, from Ikea) to be used as a changing table, that we found in red, score! We have added some porcelain knobs in different patterns to give it a quirky touch (found here). We liked the ones from Anthropologie, but after a bit of searching we were happy to find a great selection of porcelain knobs at a local source and at accessible prices (€2.95 per  piece).


As for the walls... we wanted to continue with the flamingo theme.  I had a postcard from the famous ‘American flamingo’ painting by John James Audubon, and a Mexican flamingo-maraca that we put by her small bookshelf. My mom quilted her a lovely Flamingo-and-chick blanket, to go with her light blue crib that we first saw during a day excursion to Ghent. 


After searching quite a bit  (read going crazy) on Pinterest  I found some quite unique vintage Alice in Wonderland prints  on Etsy, from a 1950’s edition illustrated by Marjorie Torrey  that we hung on one of the bare walls.


Choosing the frames was kind of hard, but in the end we settled for good old  Ribba’s from Ikea that  the husband managed to convert into transparent "floating" frames by using glass in the front and in the back of the frame, so that the original pages of the book are still readable from the back. 


When she was born she received a WWF flamingo plush from a dear dear uncle and now she has a yodeling dancing one that she loves to play with.  Oh, and let's not talk about the flamingo-obsession that started with her birth. We have quite the collection of flamingo paraphernalia: onesies, leggings, shorts, a sweater, toddler-sandals, postcards (that I am hiding from the husband, using them as bookmarks), a lovely winter-hat, a couple of dresses, a t-shirt....

Thursday, January 29, 2015

#January Joy: Have a clear out / Get organised


It is a thing right? As a new year starts, we want to start clear and fresh, get rid of the old, cleanse and declutter the home in order to let the light arrive.

Very early this year (I think it was January 2) the American Book Center organized a trade-in day where you could bring in your old books and get book certificates in exchange, so off we went. The books that were not accepted were either donated or deposited in a Little Free Library. 


We wanted to liberate space in the lower shelves of our beloved Expedit bookshelf in order to arrange baskets of toys for Yu to discover. Since she started crawling she kept putting books and cables down to munch them and I was tired of telling her "don't touch this", or "don't touch that"; when in reality I want her to be able to discover and explore everything in as free (as possible) a way. In the meantime I threw away a bunch of really old magazines and newspaper that I have the bad habit of collecting, we got a few plastic buckets and tins to store her "surprises" and it all looks fresher and cleaner.

This is the result. Did you have a January cleanse, massive throw away, renewal?


Tuesday, March 11, 2014

Finding her baby crib in Ghent

Thanks for the cute lovey Anna

 When we were looking for bits and pieces to decorate Yu's nursery we pretty quickly realized that we were not going to go for ready-made baby room combinations. We found they were a). crazy expensive and b). pretty boring (the options were white, gray, black and variations of wood). As you can probably imagine we wanted some colour in her life. However, colourful items are tend to be called "design" and priced accordingly.


We of course looked at the Swedish place. Our backup option was the STUVA crib which at least had pretty green cabinets, bonus points for extra storage room and the ability to turn into a toddler bed, but at €167 it was still quite pricey.


Then, as we were walking the streets of Ghent (we spent a couple of hours there, back in October, on our way back from Paris), we found the cutest little baby shop: Monsters with an attitude. That's where we saw a pretty red crib. We took a photo, to keep it in mind, though at €295 it was still out of our desired budget. It was from the Bopita mix & match series.


 And then Mark did what all Dutch people do when they are looking for a bargain: he turned to Marktplaats. Voilà, magic. With a quick search he found the crib of our dreams, in red or light blue, NEW, at a fourth of its selling price because a shop in Utrecht was having an end-of-line sale. So we went and after looking at it in person, we ordered it at the moment. We are so happy with its lovely light aqua blue, we can not wait for her to start sleeping there and we hope she will like it.

Friday, January 10, 2014

# January Joy: Plan a Room


For today's #January Joy challenge I thought I would share a sneak peek of the nursery, though it's not finished yet. We had been wanting to decorate this room for such a long time... we painted it light yellow when we moved in but we left it at that, waiting. During our darkest times I would not even dare open the door and I did not want to give it any alternative use either, having a weird irrational feeling that if we used the space for something else it would delay the process even further.


Anyhow we have been finding little bits and pieces to finally put our baby's room together.We don't really have a color scheme, except maybe: "mix all the colors". We first chose the curtains, that you've seen before. We also had a pair of flamingo wall stickers that we got in Barcelona just before I moved to Holland. At the moment we did not know where they would end up, but we knew they would be a part of our home together. When we were dating (and still now, when we travel) we visit zoos whenever we can and we always end up taking a photo with the flamingos, so they are a bit special to us. For the furniture, we knew we wanted colorful items, which are often difficult to find, or else, they are called "designer items" and priced accordingly. At the specialized shops all they had was white, gray, wood or black and was extremely expensive anyway. We chose a simple drawer chest (from the Swedish place) to be used as a changing table... that we found in red, score! We have added some porcelain knobs in different patterns to give it a quirky touch (found here).


As for the walls... we wanted to continue with the flamingo theme. After searching quite a bit we found some quite unique vintage Alice in Wonderland prints that we plan on putting in one of the bare walls. We are still waiting for them to arrive, but I am so excited to hang them. If you are interested in old-school illustrations, after our purchase I was sent a 15% discount code, that I would be happy to send away to the first person that raises their hand, so browse around and let me know.

Do you have any decoration / home improvement projects going on?

Tuesday, November 12, 2013

Colorful curtains, finally!


 Remember all the way back in January when I mentioned we were going to attempt to get crafty and make our own rolling curtains? Well, the curtains are finally ready and in place. But, oh, but, we did not make them. The plan was that we were going to teach ourselves how to use the sewing machine. We both tried, but we could not manage it. I can't wait for my mom to come and teach me because when it comes to crafts and handy stuff I am completely useless.  When the engineer-husband could not figure it out either I knew the whole attempt was kind of hopeless. So we took our fabric, measurements and project to the Turkish tailor who did it for us, and voilà curtains.


It was not so easy though. When we picked up the curtains they were way too long (well maybe 25 cm.) and as a consequence, on the biggest window they fell by their own weight. Crazy person that I am, I spent a whole week whining, stressing and crying about it and endlessly bothering the boy wondering how we would get them fixed.  In the end we cut the extra fabric and pasted the ends together with double-sided tape (instead of nicely sewing them, as they were) and when we attached the curtains, they stayed in place (yay!). They are not as smooth as we thought they would be because the two fabric layers tend to separate from each other, and there are some corners where light can go through, but I hope this will not be a problem, as it gets so dark here anyway.

Are you crafty? It is one of those skills I wish I had... since I could be making my own breastfeeding t-shirts* ... among all kinds of other things.

*(what! 55 EUR for a long sleeved t-shirt or 99 EUR for a fleece hoodie just because the design is great and has a zipper under the boobs that lets you nurse modestly while staying casual?)

Friday, February 8, 2013

Spring cleaning for the Chinese new year.


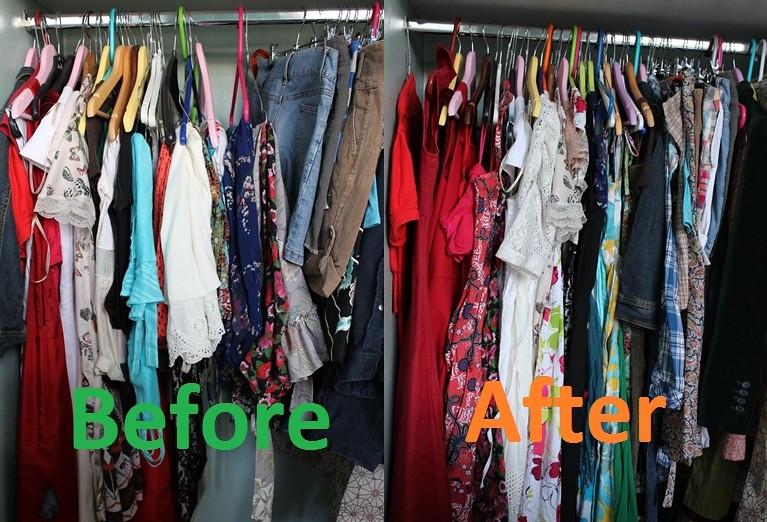
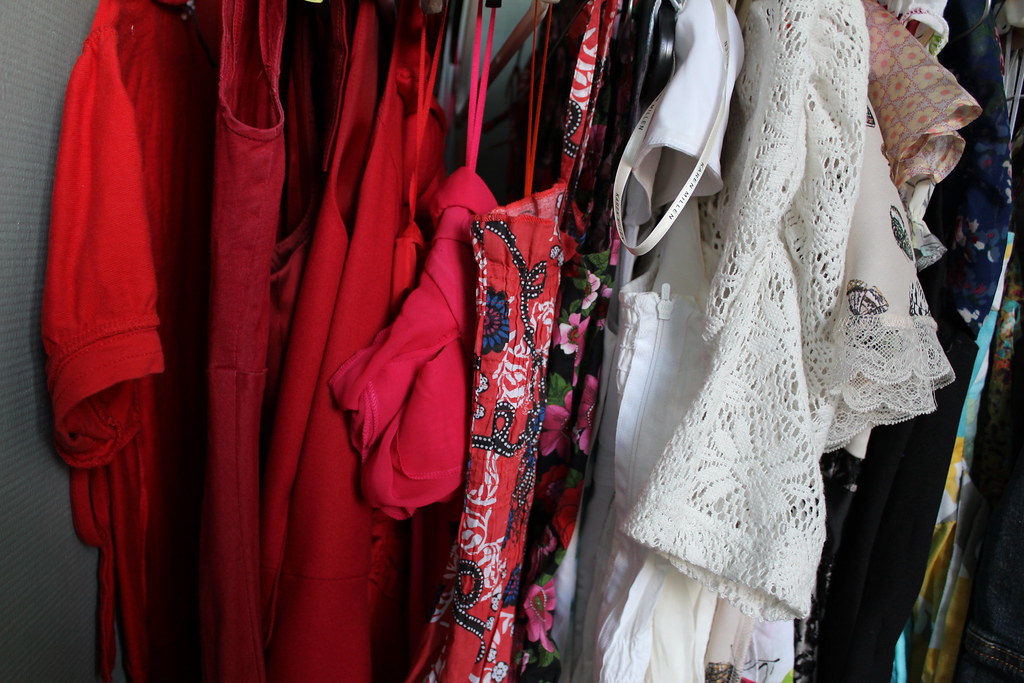
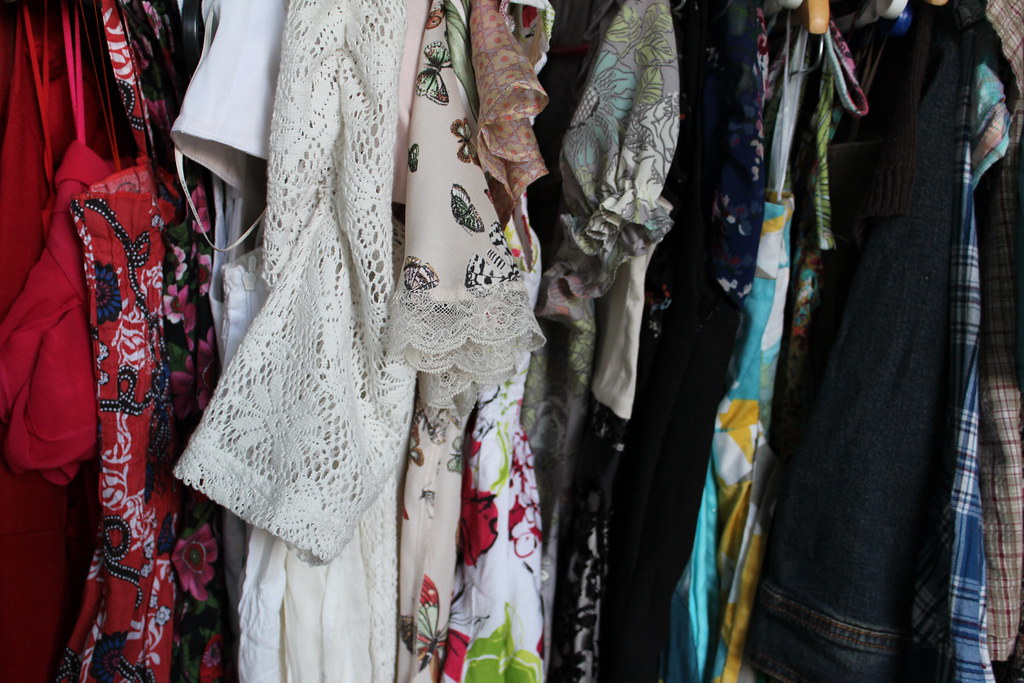
 Inspired by Michelle's ideas on closet organization, and after a long chat with Marcela I decided it was time to tackle the mess I had growing and flowing inside my closet. I have a million summer dresses (it might be my one fashion addiction. We can well be in the middle of the winter, all I want to get is more dresses). I have so many that they didn't fit, or so I thought. There they were, crammed and folded over each other, sometimes several in one hanger. In time for the Chinese New Year's spring cleaning I went to get some hangers and made sure every item of clothing was hanging in an orderly and attractive way. I also went all out and organized it by color.


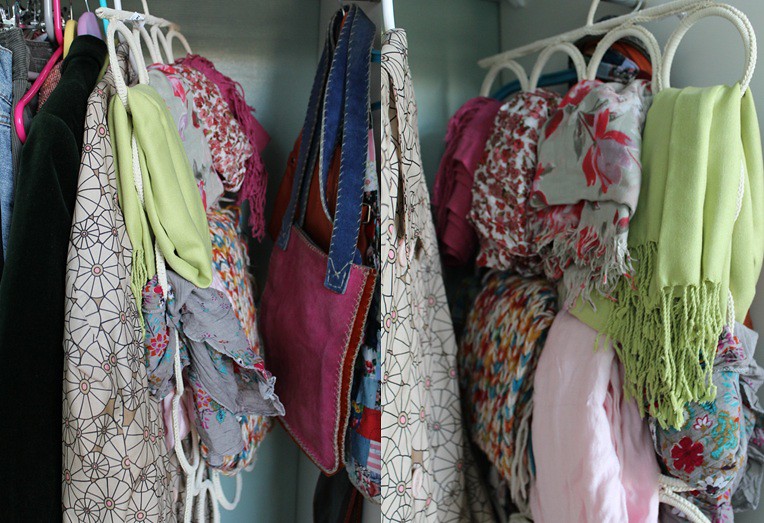
If you take a look you can now see reds / oranges together, beiges / pinks in another section, greens / blues in the middle and (a few) darker colors. I also took this bag down from storage where I had all my scarves and purses and with the aid of this hanger from the Swedish warehouse (thanks for the tip Marcela), I have them now easily accesible and organized.


 The Chinese tradition tells us that on the days immediately before the New Year (this year on February 10):

 << Chinese families give their home a thorough cleaning. There is a Cantonese saying "Wash away the dirt on ninyabaat" (年廿八,洗邋遢), but the practice is not restricted to nin'ya'baat (年廿八, the 28th day of month 12). It is believed the cleaning sweeps away the bad luck of the preceding year and makes their homes ready for good luck. Brooms and dust pans are put away on the first day so that the newly arrived good luck cannot be swept away. Some people give their homes, doors and window-frames a new coat of red paint; decorators and paper-hangers do a year-end rush of business prior to Chinese New Year. Homes are often decorated with paper cutouts of Chinese auspicious phrases and couplets. Purchasing new clothing, shoes, and receiving a hair-cut also symbolize a fresh start. >>*


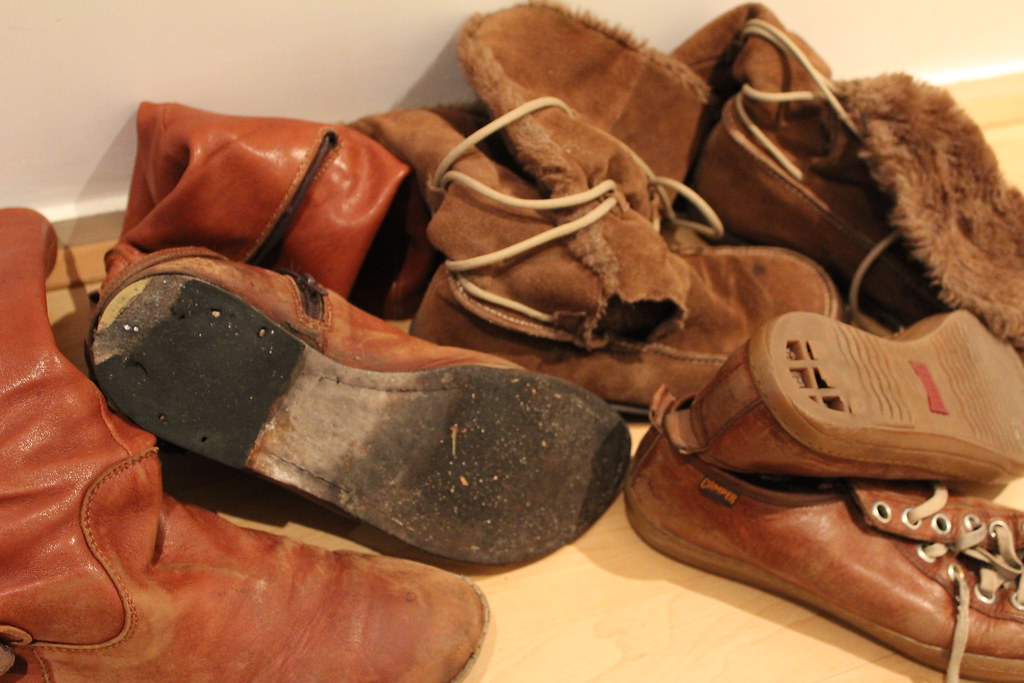
Coincidentally, I just decided to finally let go of 3 pairs of old boots and shoes, all completely worn out, and with holes in the soles (because I don't know how to walk), that I still loved dearly. And because I was left without "everyday" shoes I ordered a pair of Kickers, on sale too. I'll show them to you as soon as they arrive.

If you want to celebrate the Chinese New Year I can only recommend the lovely table decorations and easy to make treats suggested by our very own Celebration Girl. 

* Source. 

Thursday, January 24, 2013

#January Joy 24: Have a clear out (cupboard or whole room).


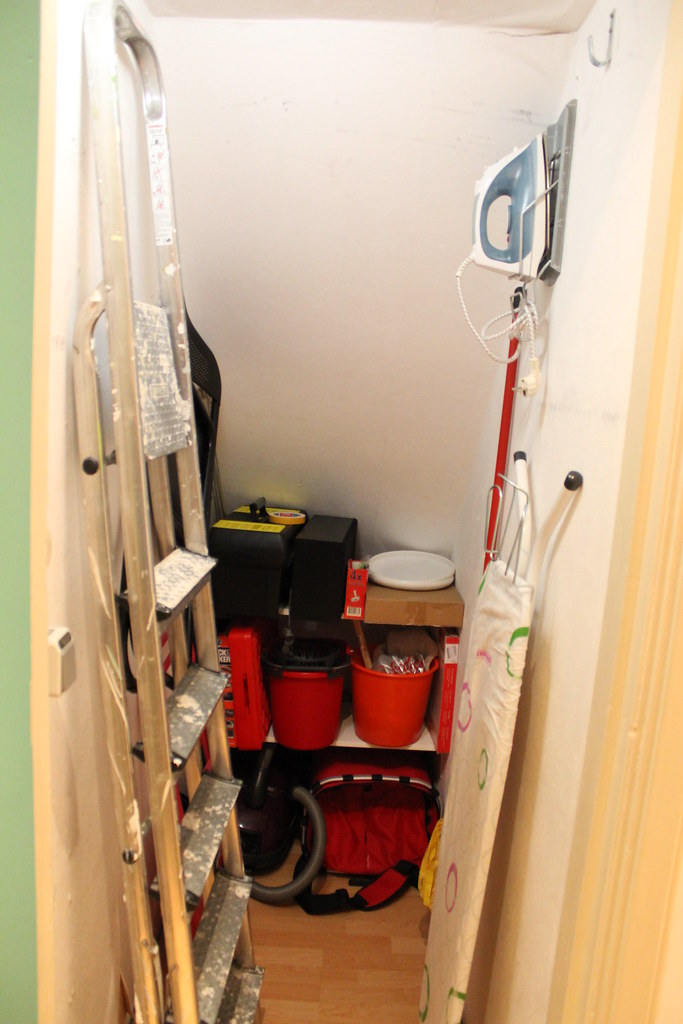
Oh this one is hard for me. I am the hoarder in the relationship. The one that has trouble getting rid of stuff just in case we would need it someday. What if the zombie apocalypse dawns on us and we do not have an array of plastic bags? Or recyclable gift-wrap paper? And boxes. I am kind of ashamed to confess that I was kind of attached to the beautiful cardboard box in which our KitchenAid came. For lack of space we finally threw it away 3 weeks ago. As a result our (little) storage room looks more organized.


For a long time I used to keep my baking tins, muffin trays, bundt pan and so forth inside the oven itself. But last Christmas we got a roasting pan, one of those you use for the turkey, that comes with a grilling tray, which is quite handy because I can just bake stuff that you would normally fry (like chicken nuggets), without the food losing its crunch. With this last addition the rest of the stuff would not fit in the oven anymore. So we had to find a solution. We moved some stuff around (from under the sink, to the storage room or to the gas meter cabinet) and we found a space for my ever growing collection of pans by the water boiler cabinet.

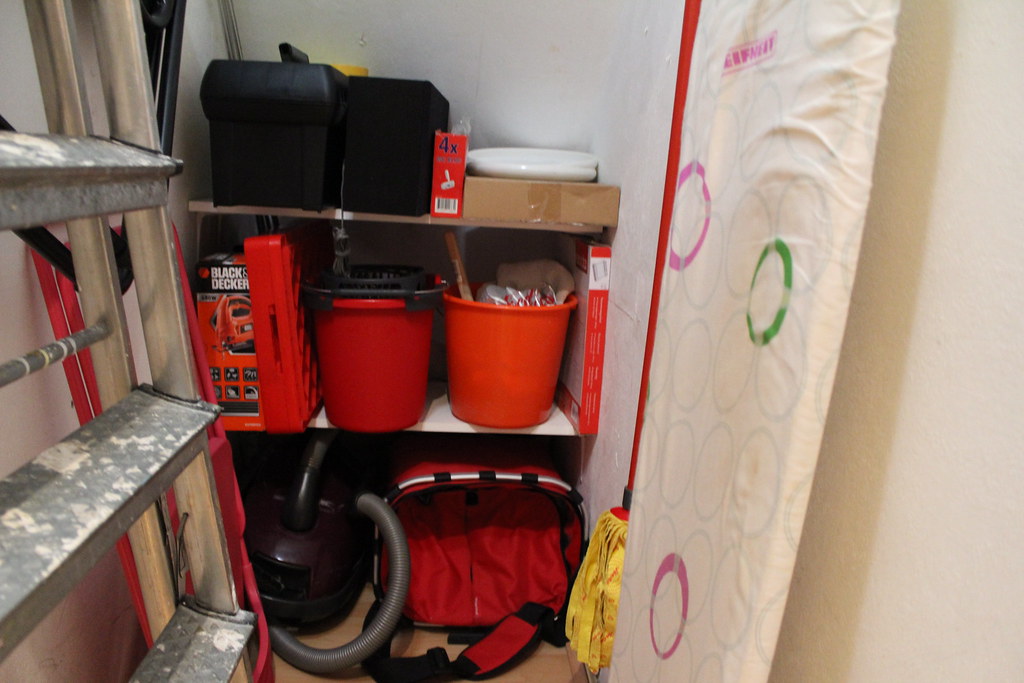
Are you a keeper or a hoarder? How do you organize / keep everything you need (buckets, iron, cleaning products, vacuum cleaner, broom, mop, tools, stairs...) in a small place? Do you tend to collect stuff (like plastic bags or newspaper cutouts?

Tuesday, January 22, 2013

#January Joy 22: Make something crafty: curtains


Hmmm. I am not at all a crafty person and my hand-eye coordination is not good either, but I have had this little project in the back of my mind and we're tackling it.
We have this little room, we call it the yellow room, that is still missing curtains. You guessed it, we're going to make them. Here is where I ask for your advice / help / input. We would like to have rolling curtains, as a matter of fact we already got the support from Ikea (that came with boring gray curtains) so all we'll do is replace the actual cloth.. The project does not seem too hard, as we basically need to make  2 rectangles (1.82x0.63m and 1.82x1.20 m), that will be then pasted to the support with double sided tape.

Choosing a fabric was very hard, we had seen a few that we liked at the Swedish place, but not one that really convinced us. Then I discovered the beautiful fabric's Sol designed and we fell in love with her "bubblegum stained glass" pattern. It reminds me of a PCR gel. The thing is we needed 6 yards of cotton canvas, and when you add the posting (45 USD !!!!) and 25 % taxes (that we would have to pay for sure) we were a bit shocked with the grand total. But don't worry Sol, we still plan on using your fabric for something, that's how much we love it.


To make a long story short last Tuesday we went to a huge fabric shop in The Hague and we found a fabric that convinced us.  So project curtain here we go. We were also silly enough to buy 2 m. of each fabric (the blue one is "darkening" , for the side of the curtains that will look outside) and as soon as we got home we realized we needed another 2 m of each fabric.
Have any of you made rolling curtains? Do you have any tips? This will be the first time I touch the sewing machine, so I need all the angels with me.

Monday, December 10, 2012

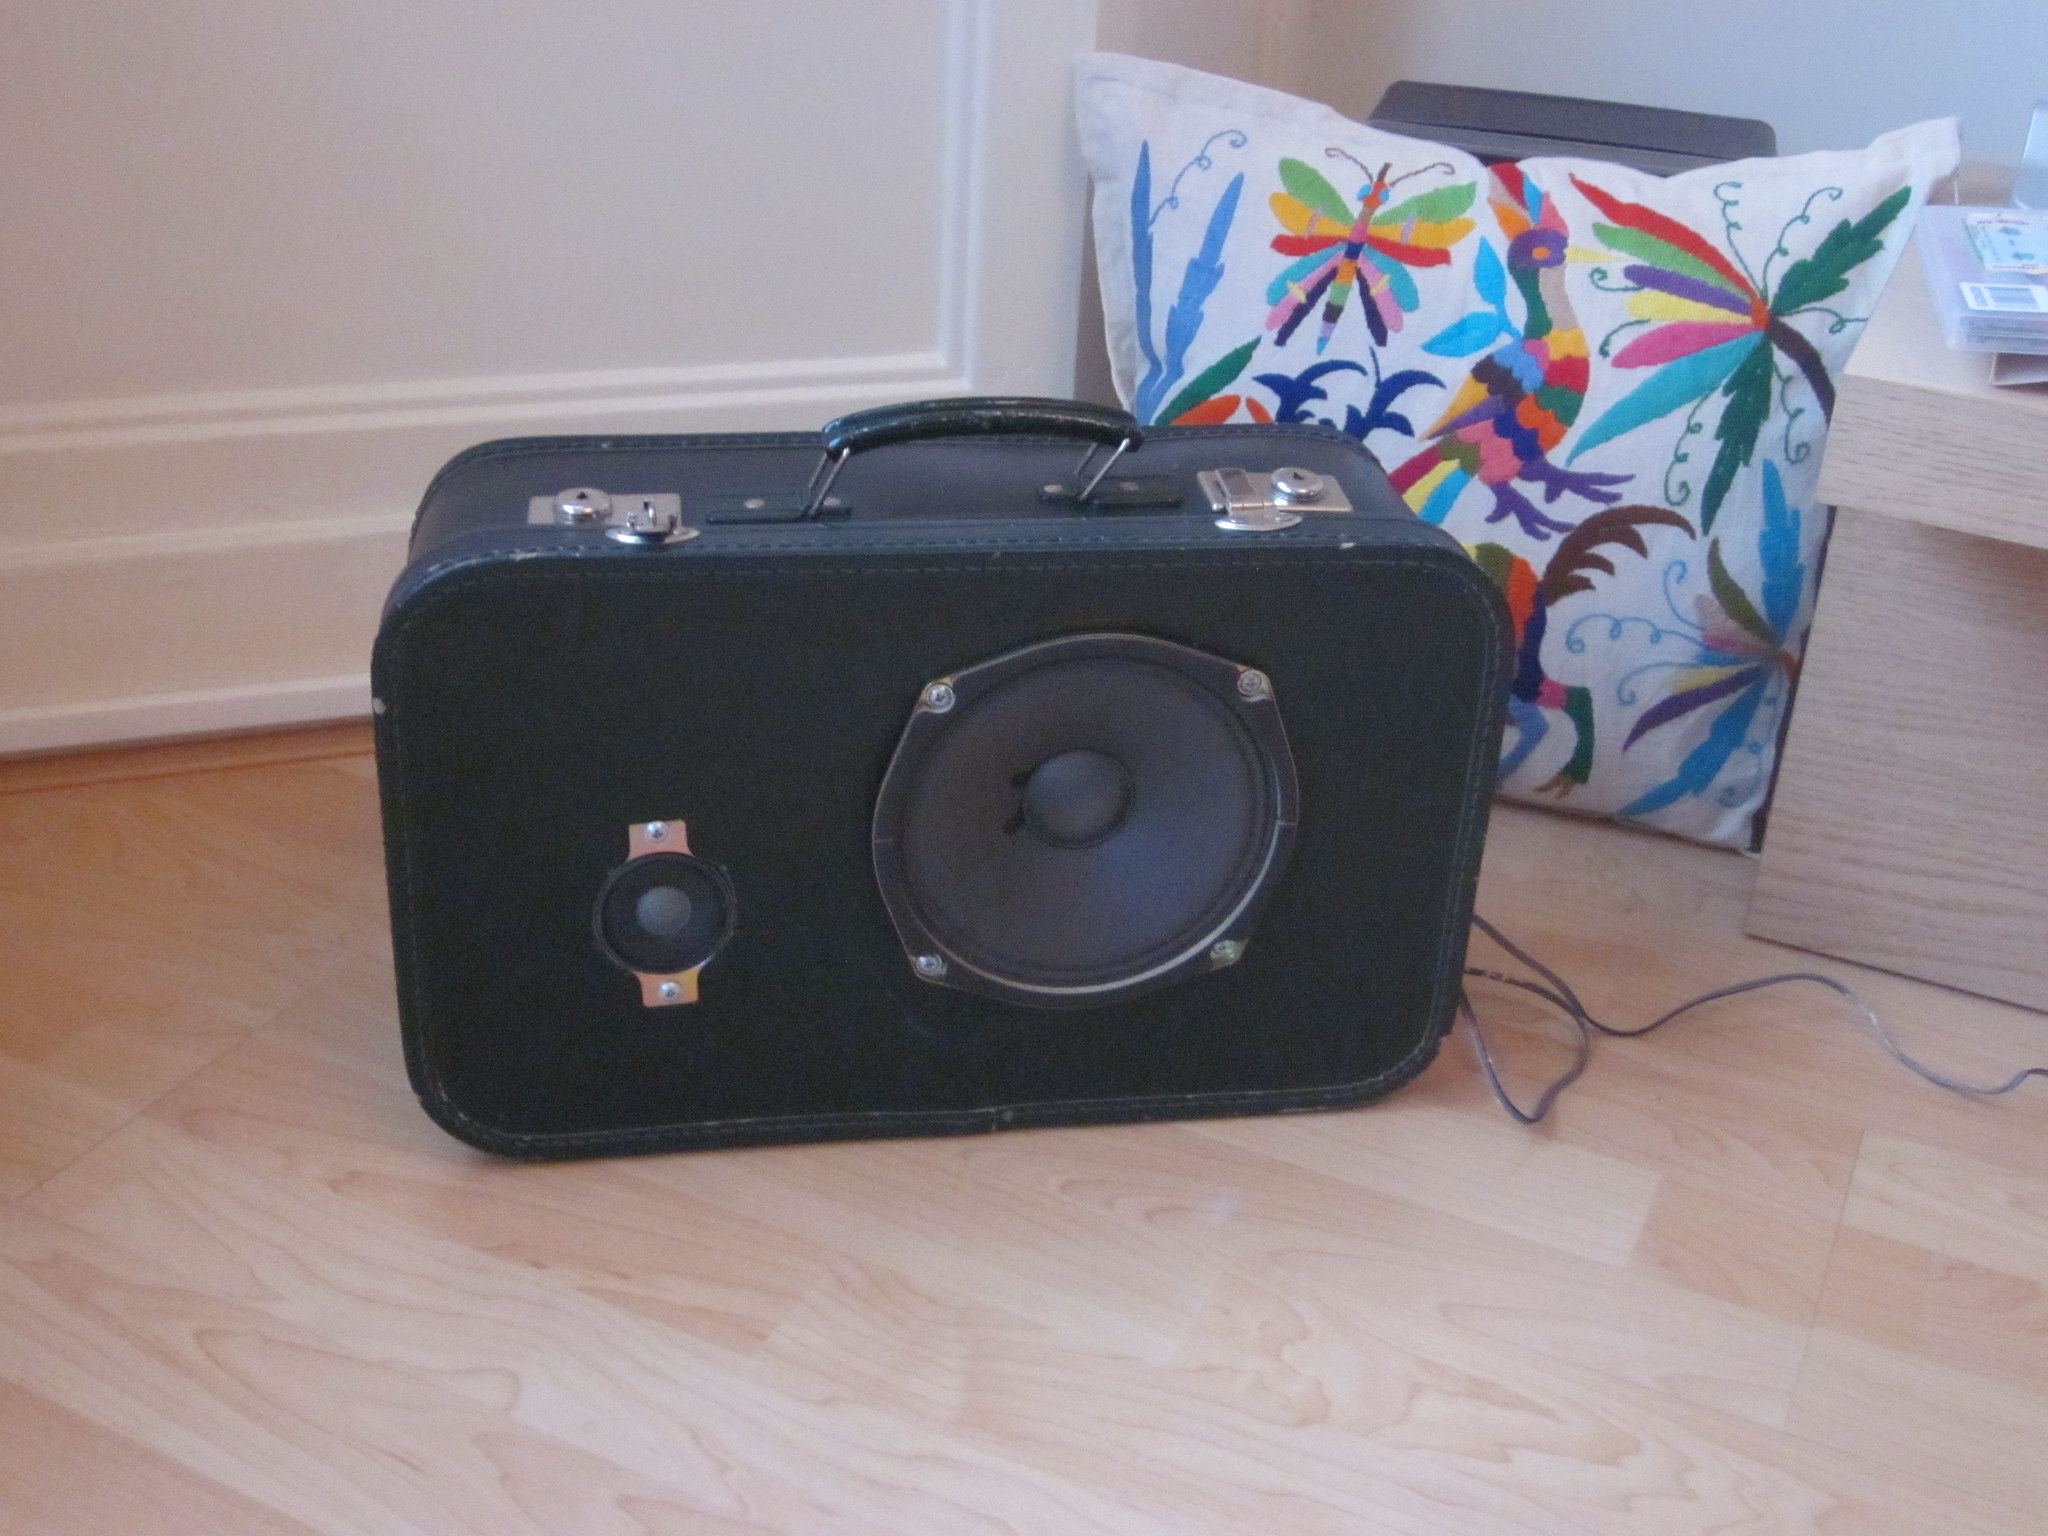
Boomcase: speakers on a suitcase DIY

 As you may remember, I was super thrilled when I found a vintage little  suitcase for the boy while walking through the small streets of Paris. He'd had this project in mind for quite a while, but whenever we went to flea markets, second hand shops or searched marktplaats (a Dutch sort of craiglist) we did not really find anything suitable, or else it was crazy expensive. So when I found the green number above for 12 EUR I was super happy, jumping up and down and doing a little dance, knowing I was going to be able to surprise him with something he really wanted. My only regret is not having gotten the 2nd suitcase on sale at the small antiquary shop, it was beige and green, and slightly larger.
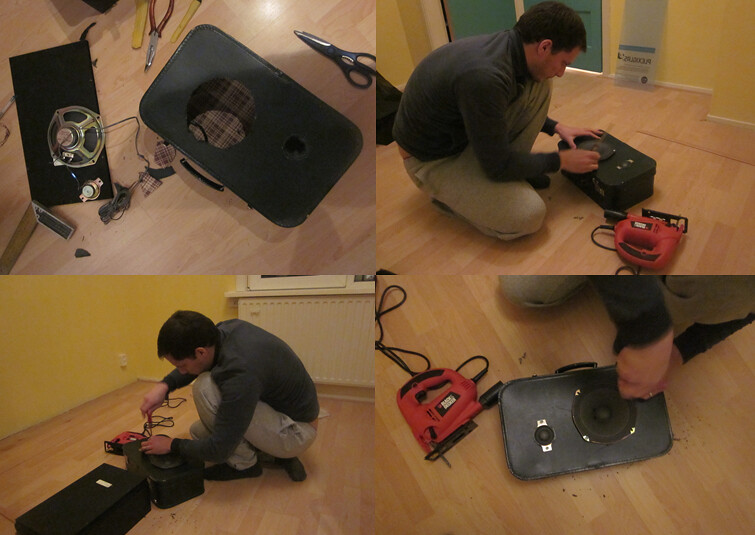
 The last few days he's been busy with this DIY project, and now we can finally show you the final result. Other than the coffer you will need some tools (scissors, a saw, pliers, screws) and of course the speakers. We got a pair of those at the second hand shop for 10 EUR. What the boy did first was open up the speakers and take out the drivers (the part that makes the sound by converting electrical energy to sound waves). He then used the other part of the speaker as a template and marked the circles of the corresponding size in the suitcase. After cutting this part out, he procceeded to fix the drivers in place with some screws and then connected everything back together. He tested it with a remix by Dirty South. It works. Yaaay.

Monday, November 26, 2012

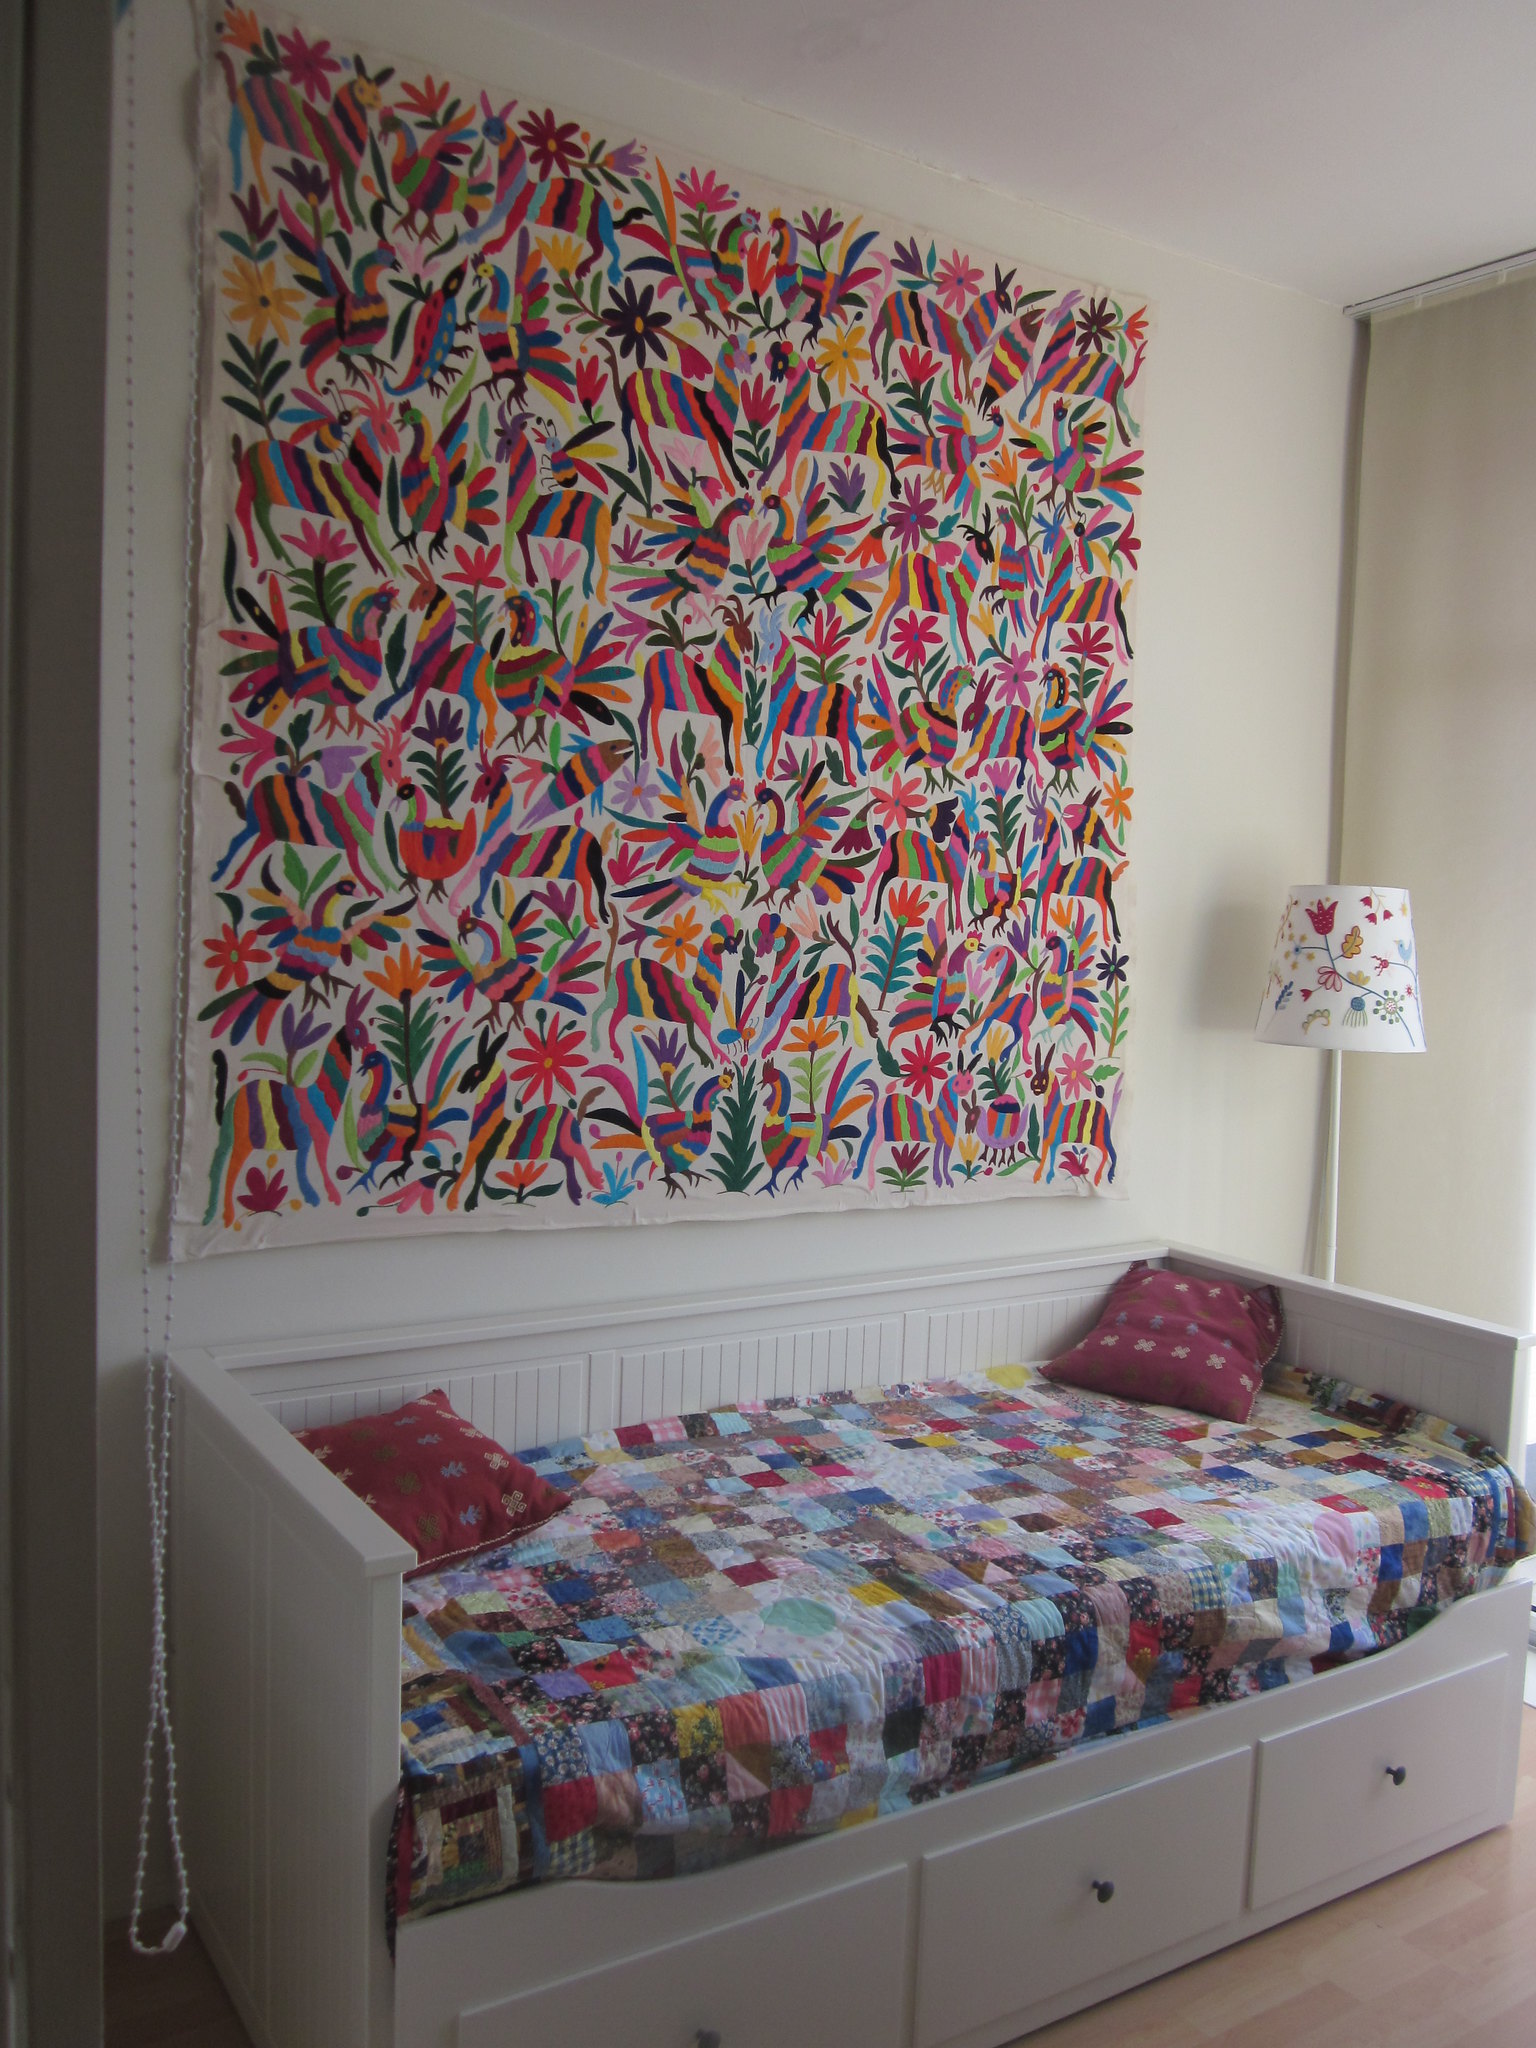
Otomi (tenango) wall: a DIY tutorial

I am super excited to finally reveal the newest addition to our guest room. The wall above our convertible couch used to be bare (like this), and we weren't quite sure what to do with such a large white space. We considered painting over it, maybe even try a graffiti, or printing a huge panoramic picture of a city like Barcelona. Then, while I was looking for information in order to properly denounce Mara Hoffman's plagiaristic use of Otomi tenango's in her designs I found what we wanted: a 1.80m x 1.90 m hand-embroidered textile to be exposed on the wall as art and give joy and color to our visitors. You can see what I mean by looking at my inspiration on this board. Apparently these textiles are very popular on interior decoration blogs such as Apartment Therapy, Open House, Mafalda's mama, Absolutely Beautiful Things and Design Sponge. I also found a post by Uauage, a high-school classmate and friend of mine, who upholstered a bench with one of these textiles, with beautiful results.
As for the origin of these textiles, which I can not emphasise enough, Wendy Circosta summarised it very clearly:

"Made by Otomi (Nah-Nu) women in the Tenango Valley of Hidalgo, Mexico, this  multicoloured textile squares are embellished with embroidered whimsical  characters and crisp graphic shapes,and include animals such as turkeys, armadillos, deer, hares, parrots and floral motifs. Commonly known as tenangos, this  style of embroidery can be traced back to pre Aztec Meso-America with  the symbolism, iconography and colour ways of the pieces reflecting the  time-honoured traditions and beliefs of the Otomi people. Traditional  designs featured on Otomi textiles are said to originate from prehistoric wall paintings located in the Tenango region and symbolise  man living in harmony with the natural environment.
 
An economic crisis caused by a severe drought in the 1960s devastated  the predominantly subsistence farming region of the Tenango Valley.  Considering alternative ways of making a living, the Otomi looked to  their artistic heritage. Successfully melding modern ingenuity with ancient traditions helped restore the rich cultural inheritance and  ethnic identity of the Otomi Indians, in addition to assuring international recognition of Otomi embroidery as an art form in its own."

Now, for the DIY part: 

1. send your mexican relatives / friends / acquaintances on a road trip to Tenango de Doria. They will enjoy the beautiful sights of the Sierra Madre Oriental mountain range and contribute in a tangible manner to the local communities. Of course if you happen to be staying more than a week in Mexico I can only recommend you go in person. Get a tenango of your choice, you will find workshops and handcraft shops in the center of the town. Ask for tablecloths or bed covers if you would like a large one like us.

2. head to your local home improvement  shop and get 4 pieces of wood of the required size, a wood stapler, a saw, and two-sided tape. Cut the corners of the wood pieces and join them with staples on both sides to make a frame with the wood and staple it together. 

3. Paste double-sided tape all around the wooden frame and stick your tenango to it. This part is tricky if you pull too tightly and there is too much tension of the textile on the frame, it will fall. We had to make the wooden frame smaller several times until we got the size right. To strenghten, reinforce by stapling your textile to the frame in the corners or middle. 

4. Voilà- You are ready to hang it and admire it forever.


Tuesday, December 20, 2011

The map.


It arrived. And now it's framed and hanging above our beloved green couch. It makes us want to travel. Let us never forget that we want to see the world. We have decided to start The New Year with a list of places that we want to visit together. For now the list includes Japan,Vietnam, Thailand, Cambodge,  Prague, London (we never went together and we both love it there), Greece (have to see the palace of Knossos in Creta), the whole South of Spain including Tenerife, Taiwan, Costa Rica, Chile, Argentina, Bolivia, Croatia, somewhere up in Scandinavia to see the Northern lights, Jordan, every little corner of la France, Luxembourg, Turkey, Hungary, Indonesia, Portugal, Morocco, Cyprus....


I love our huge map because guess what, it has a plastic coating and we can write on it !
 And it is so big. Also, the projections are made in such a way to reflect the "real" size of countries in proportion to the rest. Have you seen how big Africa and India are? We got it from Future Maps, and it is so so pretty. I can't seem to stop looking at it. Now we have to do some real plan, as in divide all those places in lists, see which of them are doable in short-trips, and for which we have to save and schedule ahead. Oh we are so excited.
Oh and because you read through all of this I leave you with one of my favorite videos ever:

Wednesday, November 23, 2011

Oh lovely bookshelf, finally.

 Ever since I first saw this bookshelf I knew it was going to be part of our home. Even if by now it is a classic and everybody has it, I love it all the same. And finally, we have it at home. It was a struggle to make it fit in our little car, but we made it.
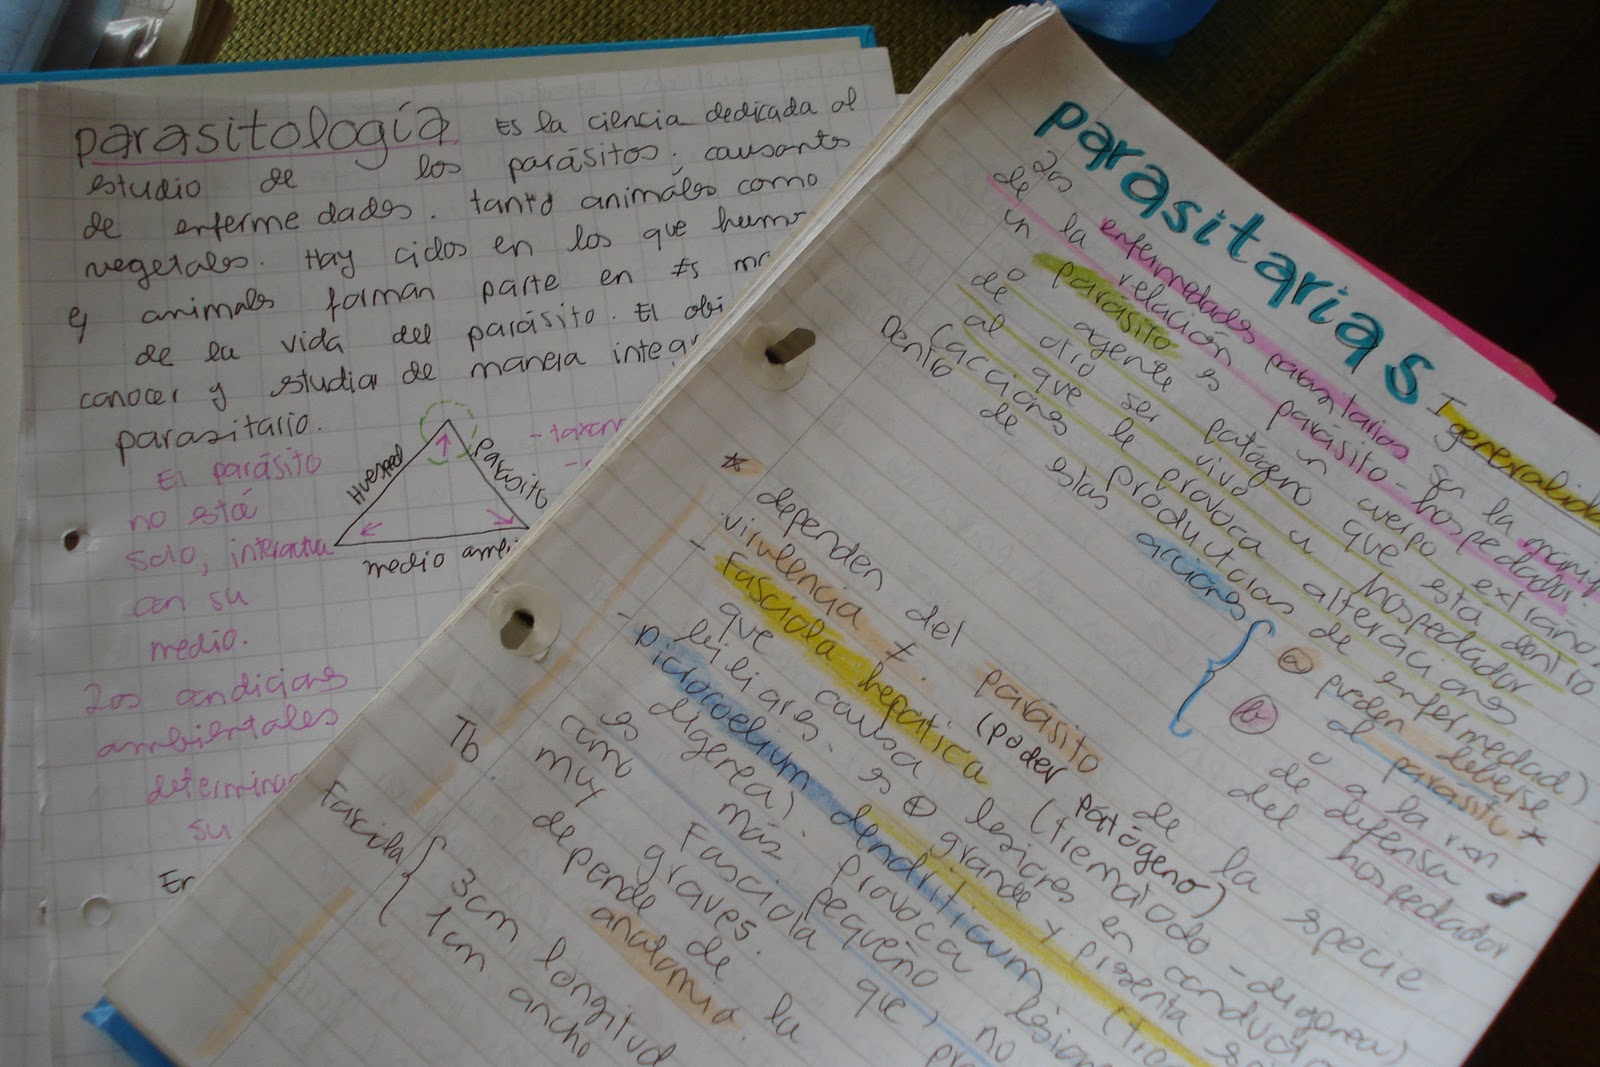
 Then the time came to get the boxes I brought with me from Barcelona and that had since been gathering dust first in the attic and then in the garage and open them. It felt a little like Christmas. Well, not really. But wow, I studied a lot.
 As I was taking out my notes and books and filing them into colorful new binders I was shocked at the amount of information I had to learn and memorize.
Then I stumbled into these and remembered thinking that anatomy would be the hardest subject ever.
 But no... even as a girl who always loved chemistry, when I think what was the hardest exam I had to pass the first that comes to mind is Pharmacology, and close behind Surgery and Radiology.
Oh but look at this, aren't you in love with cubic shelves? I know some of you are.
Related Posts Plugin for WordPress, Blogger...